Installation
Ready to install your window?
We’ll take you through the process step-by-step.
Download the PDF or follow along the steps below.
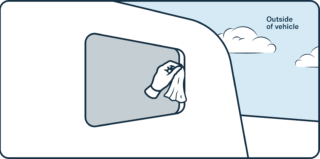
Step 1Clean window opening on your vehicle.
Clean dust and oil from around rough opening.
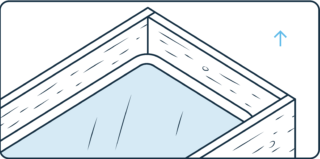
Step 2Unpacking your window
Remove window from crate and position on a clean, non-abrasive surface. Position clamp ring facing up.
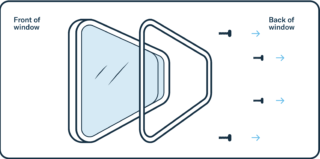
Step 3Remove clamp ring screws
Remove all clamp ring screws (making an index mark on 2 piece clamp rings will help insure correct replacement).
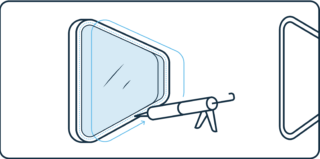
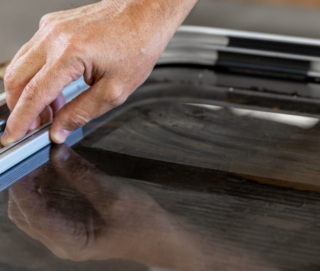
Step 4Install bedding compound
First, wipe window flange with dry cloth to remove dust, then install bedding compound.
For bedding compound, use any of the following:
- Butyl rubber tape
- Double stick closed cell foam tape
- 100% silicone rubber sealant
(Do NOT use an adhesive)
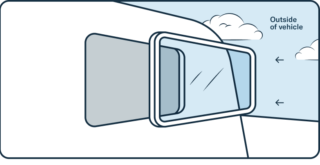
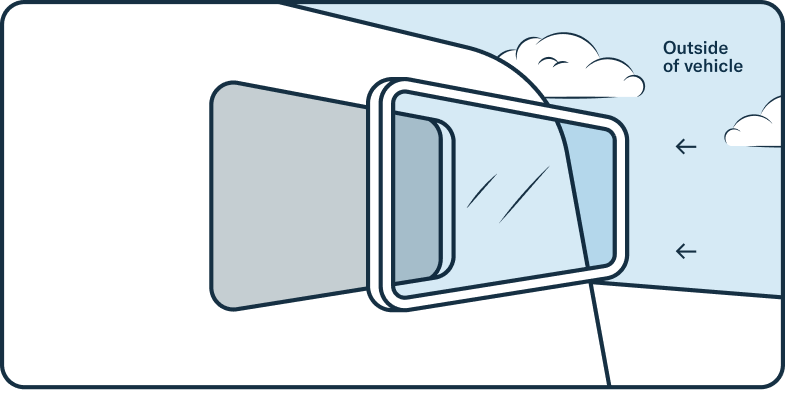
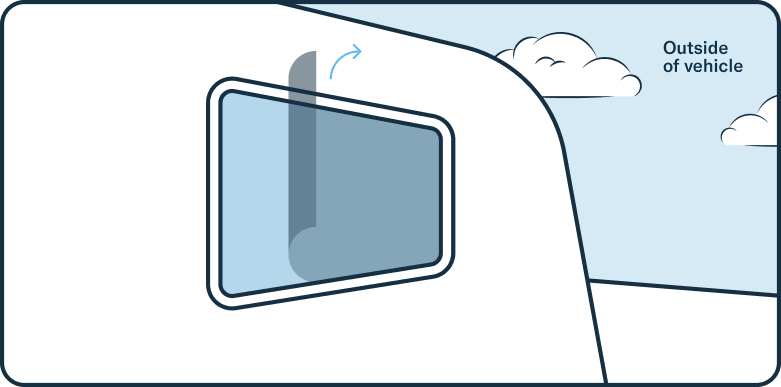
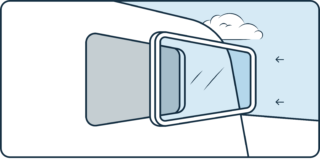
Step 5Position your new window
Position window in rough opening from outside making sure of correct placement. All sliding windows must have drains toward bottom.

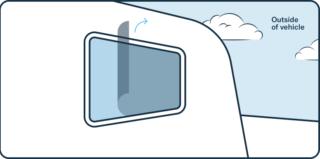
Step 6Reinstall clamp ring
Reinstall clamp ring on inside, taking care to use existing screw holes.
Note: When using silicone bedding, do not fully tighten clamp ring until silicone is dry. Over tightening when wet WILL cause leaks.

Step 7Clean off excess bedding material.
Step 8Remove protective masking
For acrylic or polycarbonate glazing only, remove protective masking immediately after installation.
Delay or exposure to sunlight (UV rays) will make masking removal difficult.